CLAP Unity 2020 for Oculus Quest
In this tutorial we describe how to install and setup CLAP for Unity targeting Oculus Quest devices. At the end of this tutorial, one of the sample scenes using CLAP will be deployed for the Oculus Quest (1&2). In order to create applications for Oculus Quest with Unity, make sure your Unity installation has Android Build Support enabled.
1. Download and extract the CLAP Package at a desired location
2. Start Unity Hub and create a new 3D project for Unity 2020.
3. Import CLAP Unity Package
Once Unity has finished the creation of the empty project, we need to import the package that has been downloaded and extracted in step 1. Open the Unity Package manager (Menu: Window->Package Manager), and click on the ‘+’ sign in the top left corner of this window.
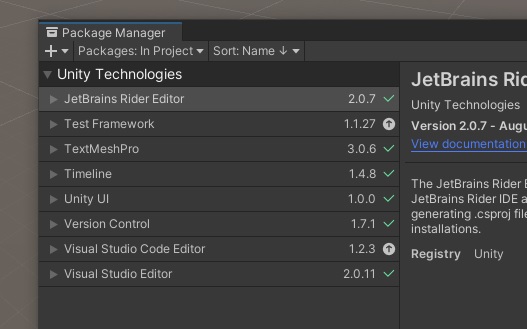
Select add package from disk and browse to the location where the CLAP Package has been extracted to. Open folder CLAP and select the ‘package.json’ file and click on open. The CLAP Packages is now imported into the project and is located in Unity at Packages/CLAP.
4. Open sample scene
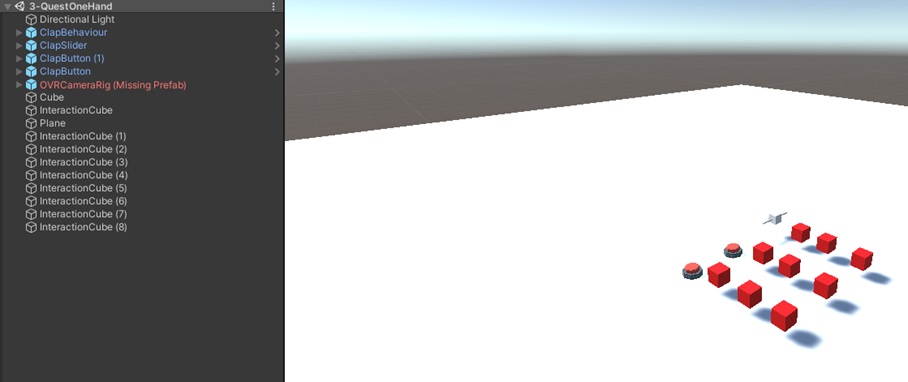
To open a Quest sample scene, browse to Packages/CLAP/Scenes/. Here you will find a number of sample scenes. To open a sample scene for the Oculus Quest, just open scene ‘3-QuestOneHand’. The inspector shows that the OVRCameraRig prefab is missing. This is caused by the fact that the Oculus Plugin is not added to the project.
To open a Quest sample scene, browse to Packages/CLAP/Scenes/. Here you will find a number of sample scenes. To open a sample scene for the Oculus Quest, just open scene ‘3-QuestOneHand’. The inspector shows that the OVRCameraRig prefab is missing. This is caused by the fact that the Oculus Plugin is not added to the project.
5. Updating build and project settings
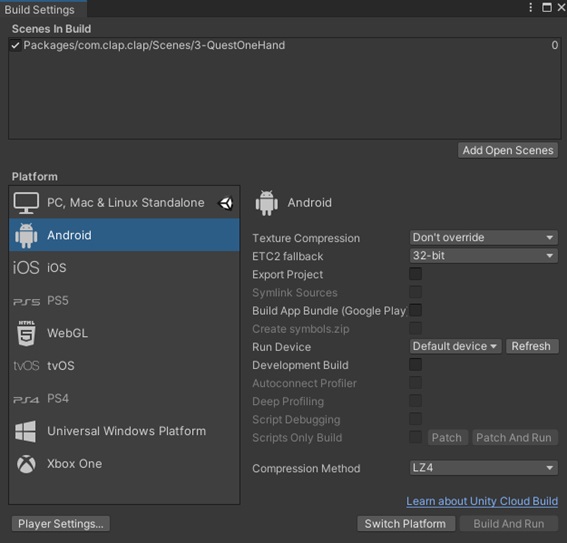
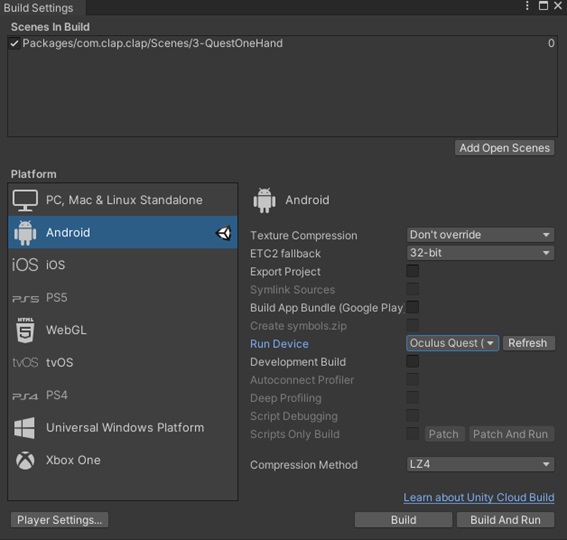
Before we import the Oculus Plugin, we first have to change some build and player settings. Since the Oculus Quest is an Android device, we have to change the platform to Android. Open the Build Settings (menu: File->Build Settings), first include the current scene by clicking on the ‘Add Open Scenes’ button, next click on ‘Android’ and then click on the ‘Switch Platform’ button.
Next, open the Player Settings by clicking on the ‘Player Settings’ button in the lower left corner (or Menu: Edit->Project Settings and then click on Player). Search for ‘Other Settings’ in the Android tab and change the Color Space from ‘Gamma’ to ‘Linear’ and confirm this.

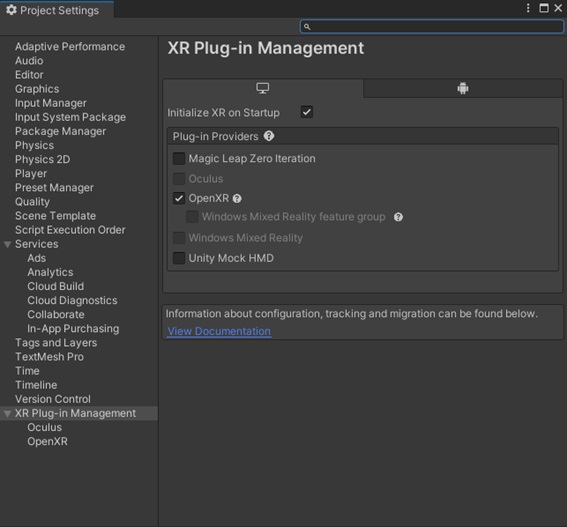
Finally, we need to add the XR Plugin Management. Click on ‘XR Plugin Management’ on the left, then click on ‘Install XR Plugin Management’.

Next, check Oculus under the Android tab:
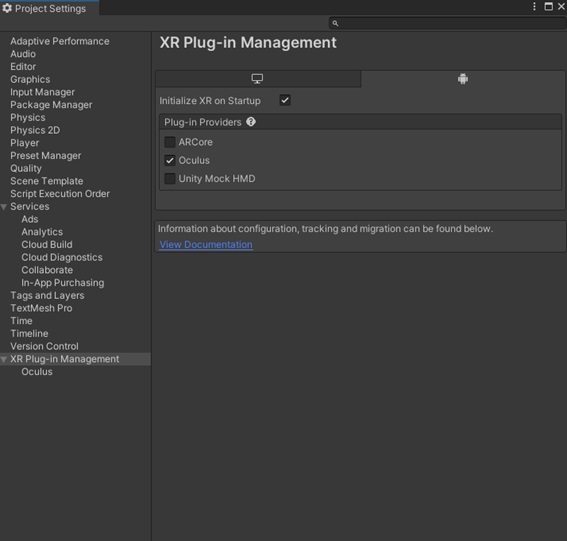
which installs the Oculus XR plugin. In the scene hierarchy, the OVRCameraRig prefab is still missing. To fix this, we need to install the Oculus Integration plugin. Go to the Asset store (https://assetstore.unity.com/packages/tools/integration/oculus-integration-82022) and click on open in Unity. This opens the Package Manager window:
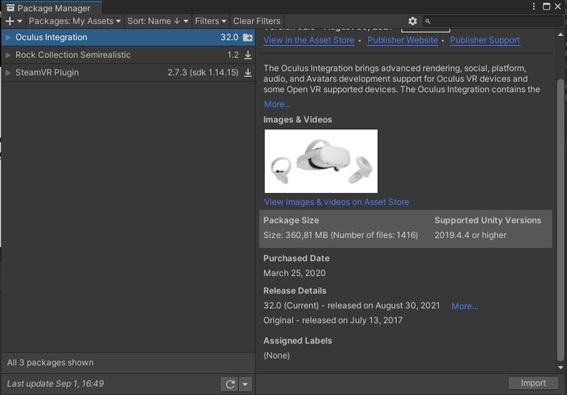
And click on the ‘import’ button. After a while Unity asks which files to import. Import all files by clicking on ‘Import’.
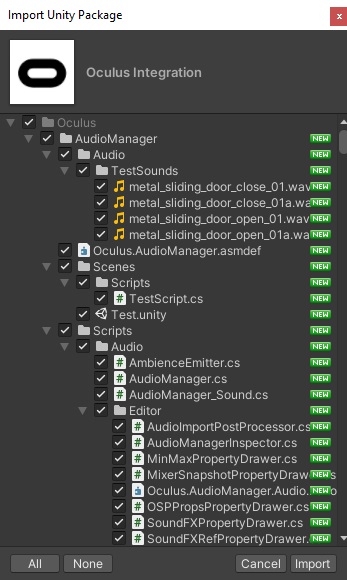
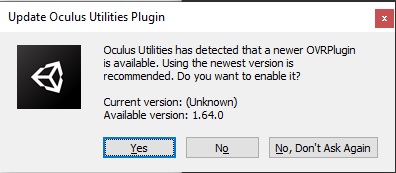
This will add the Oculus Integration asset to your project, which may take a while to finish. Once this asset is imported, Unity asks to update the OVRPlugin, click yes.
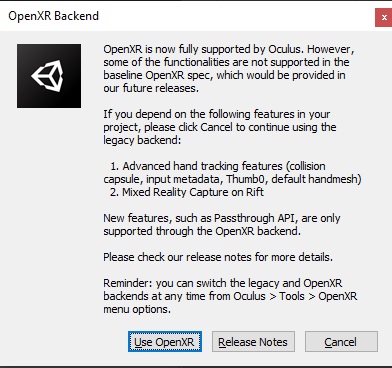
Next, Unity asks to use the OpenXR backend in their plugin. It’s safe to click on ‘Use OpenXR’ and confirm this by clicking on ‘Ok’ after that.
Next, when Unity asks to restart, click on ‘Restart’, and when it asks to upgrade the spatializer plugin, just click on ‘Upgrade’. After this, Unity will restart. In the hierarchy you will notice that the missing prefab is recovered by adding the Oculus Integration Asset/Plugin.
6. Changing default settings in OVRCameraRig prefab
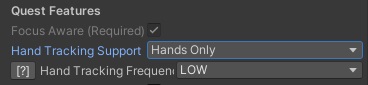
Select the OVRCameraRig prefab from the hierarchy and go to the OVRManager script settings in the inspector. Change ‘Hand Tracking Support’ to ‘Hands Only’ or ‘Controllers and Hands’.
7. Building and running Android package.
Now that everything has been setup correctly, it’s time to actually build the Android package and run it on the Quest. Make sure your Quest is in developer mode, i.e., that you can install your own packages. Connect the Quest to your PC and make sure that your device has USB debugging enabled and that your PC has access to the storage of your Quest. Open the Build Settings window and make sure your device is listed in the drop down menu next to ‘Run Device’.
If that is the case, just click on ‘Build and Run’. Give a name for your apk file and click on save. Unity will now build the Android package, which may take some time. If there are no problems, then the package will be installed on the Quest and is started. You can now put on the HMD and play around with CLAP.
Installing CLAP on Unity 2019
The installation procedure for Unity 2019 is almost identical to the 2020 version, with the only exception that the Asset store is part of Unity 2019. By opening the asset store and searching for ‘Oculus Integration’ will eventually give you the Asset/Plugin page of the Oculus Integration Asset, which you can import directly, instead of opening it in the Package Manager and import it from the package manager.
Using CLAP on Oculus Rift or HTC Vive
Both devices are supported by CLAP through the XR Plugin Management system. For the HTC Vive, Unity 2020 is required. Assuming that your VR system is installed and working, the only thing that is required is to add and activate the right plugin through the XR Plugin Managements System. In this example the OpenXR plugin was used with the OpenVR backend. (The Oculus Integration Plugin is not required/recommended)
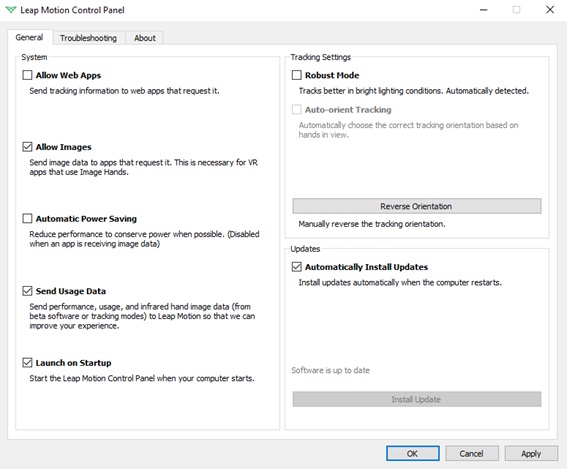
After this, please open scene 4-OpenXROneHand which contains the XRRig. Make sure you have attached the LeapMotion on the front of your HMD, see https://www.ultraleap.com/product/vr-developer-mount/. Press play in Unity and you can use CLAP. If you are using the 5th generation tracking software from UltraLeap (Gemini), please be aware that the “Auto-orient tracking” functionality has been removed. To switch between HMD and desktop mode, click on the “Reverse Orientation” button.